 By Ethan Brooks
Updated November 2026
3D print Thanksgiving decorations by finding a model file, choosing a printer-friendly material, slicing the design and finishing the pieces so they look good on a fall table or mantel. Most home printers can handle turkey figures, place card holders and leaf garlands within a single evening of printing, and the process is easier than it sounds once you know a few settings. This guide walks through each stage.
Choose the Right Designs and Files
Start with designs that suit your printer’s build plate. Small items such as napkin rings, pumpkin place card holders and miniature turkeys print quickly and need little support. Larger centerpieces or wall hangings often need to be split into sections and glued together. Search model libraries for “Thanksgiving” or “autumn,” and check that the file is downloadable in STL or 3MF format. For more ideas, see Thanksgiving Decorations to Print: 9 Free Ideas and How to Set Them Up.
Shopping for one? See our guide: 6 Best Thanksgiving Dining Table Decorations for Fall Dinners (2026).
Pick a Filament and Print Settings
PLA is the most common choice for decor. It prints at low temperatures, produces little warping and comes in warm autumn colors like rust, mustard and deep burgundy. PETG is tougher and handles outdoor use better, though it can be stringy. Manufacturers usually list recommended nozzle and bed temperatures on the spool, so start there.
For most decorative pieces, a layer height of 0.2 mm gives a clean surface, and 15 to 20 percent infill is enough for figurines and holders. Use a brim on tall, thin parts to keep them from lifting off the bed.
Print, Support and Finish the Pieces
Prepare the print
- Level the bed and clean it with isopropyl alcohol.
- Slice the model and check the preview for overhangs.
- Add supports only where a feature angles more than about 45 degrees.
- Print a single test piece before committing to a full batch.
Finish the surface
Remove supports with flush cutters, then sand with 220-grit and 400-grit paper. Brush on primer, then acrylic paint. Dry-brushing a lighter shade over raised details makes feathers and leaf veins stand out. Seal with a matte clear coat so the finish looks like painted wood rather than plastic.
Style Your Printed Decorations
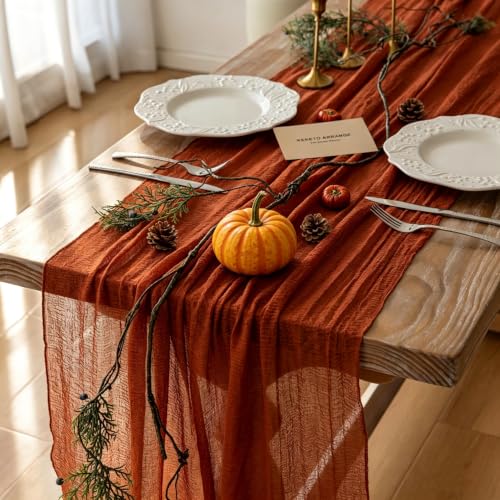
Group printed pieces in odd numbers and vary their heights. A cluster of three turkey figurines at different sizes looks more natural than a straight row. Pair printed items with real elements such as pinecones, dried wheat and fabric runners. For table ideas, see 7 Best Thanksgiving Day Table Decorations for a Warm Fall Feast.
Common Mistakes to Avoid
- Printing at full size without checking the model dimensions first.
- Skipping the brim on tall, narrow parts, which leads to warping.
- Leaving PLA pieces in a hot car or direct sun, where they can soften.
- Using a glossy paint finish that shows every layer line.
- Forgetting that outdoor pieces need UV-resistant coatings to avoid fading.
Recommended Gear
- Flush cutters make clean support removal easier and reduce chipping on delicate leaves and feathers. View on Amazon
- Matte clear acrylic sealer protects painted finishes and removes the plastic shine. View on Amazon
- Fine-grit sanding sponge smooths layer lines without rounding off small details. View on Amazon
FAQ
What is the easiest 3D print Thanksgiving decoration for a beginner?
Small napkin rings or place card holders are the simplest projects. They print quickly, need minimal support and let you test your settings before tackling larger pieces.
Which filament works best for outdoor Thanksgiving decor?
PETG holds up better than PLA in outdoor conditions because it tolerates heat and humidity more readily. Either way, a UV-resistant clear coat helps protect the color.
Do I need a special printer to make Thanksgiving decorations?
No. Most entry-level FDM printers can produce these pieces. A stable bed, a level build plate and basic slicer software are enough for most designs.
Conclusion
With a suitable model, the right filament and a few finishing steps, 3D printed decorations can look handcrafted and fit any fall theme. Start small, test your settings and build up to larger centerpieces once you are comfortable with the process. Keep an eye on material safety for items that will sit near food.
Related reading
- 3D Print Halloween Decorations: A Step-by-Step Guide for Beginners
- Where Can I Find Thanksgiving Decorations: A Practical Guide (2026)
- Turkey Decorations for Thanksgiving: 8 Ideas and How to Style Them
- Thanksgiving Gender Reveal Decorations Review: Who Is It For?
Ready to choose one?
About Ethan Brooks
Ethan Brooks is part of our editorial team and reviews and edits our non-christmas seasonal decor guides, checking product details against manufacturer specifications and owner feedback.