 By Ethan Brooks
Updated November 2026
Handmade Thanksgiving decorations DIY projects let you dress up a table, mantel, or front door with pieces that look personal and cost little more than a trip to the craft store. This guide covers the basic materials, a simple process you can follow for almost any project, and a few styling tips so your handmade pieces look intentional next to store-bought items. Most of the projects below take between 20 minutes and two hours.
Gather Materials and Plan Your Color Palette
Start by choosing three to four colors that already appear in your home. Burnt orange, mustard, deep red, cream, and brown work well together and read as “harvest” without looking like a costume shop. Limit yourself to two textures, such as paper and wood, or burlap and twine, so the finished pieces look cohesive.
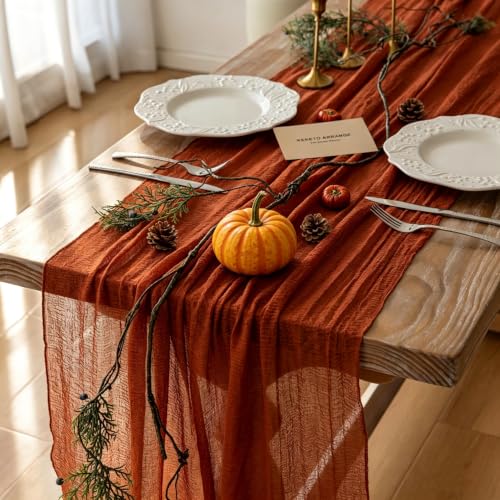
Shopping for one? See our guide: 6 Best Thanksgiving Dining Table Decorations for Fall Dinners (2026).
Before you buy anything, check what you already have. Cardstock, leftover ribbon, pinecones from a walk, and empty glass jars cover more projects than most people expect. If you’re still deciding what to make, the roundup of Thanksgiving Decorations Made Out of Paper: 8 Easy DIY Projects is a good place to find paper-based ideas.
Basic Steps for Most Handmade Projects
Nearly every project in this guide follows the same sequence. Once you learn it, you can adapt any idea to the materials you have on hand.
- Sketch the shape on paper at full size, or print a template if you’re working from a pattern.
- Cut your base material, leaving at least a quarter inch of margin for glue or folds.
- Assemble the main structure first, such as a folded base or a wired frame.
- Add texture and color in layers, letting glue dry before stacking pieces.
- Attach a hanger, stem, or stand last, so it doesn’t get in the way.
Eight Handmade Projects to Try
These ideas range from quick table pieces to larger décor for entryways and walls. Pick one or two to start rather than trying everything at once.
- Paper pumpkins: Accordion-fold strips of cardstock into a ring, then glue the ends together to create a dimensional pumpkin.
- Pinecone place card holders: Glue a small cardstock tag to the base of a cleaned pinecone and write each guest’s name.
- Burlap wreath: Wrap a foam or wire wreath form in strips of burlap, then tie on a fabric bow in your accent color.
- Mason jar candle wraps: Hot glue twine or lace around the rim and base of a jar, then place a tealight inside.
- Leaf garland: Thread paper or fabric leaves onto twine at even spacing, leaving some gaps so the garland looks natural.
- Wooden sign: Paint a plank with a short phrase, using a stencil for clean letters, and lean it against a centerpiece.
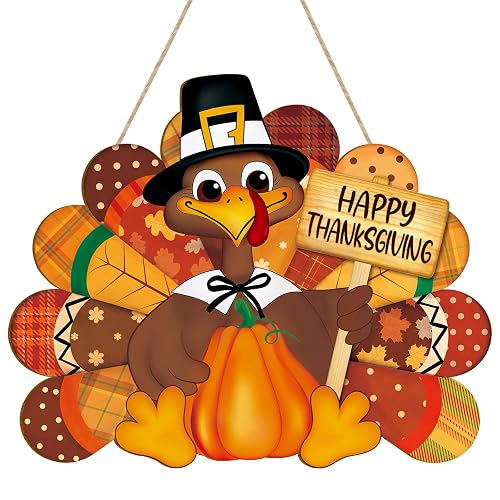
- Fabric turkey: Stuff a sock or small fabric pouch, add felt feathers, and glue on eyes and a beak.
- Gourd centerpiece: Arrange small gourds on a tray with dried grasses and a few candles for a low, simple display.
If you want more detailed turkey options, the guide to DIY Thanksgiving Turkey Decorations: 8 Easy Projects with Steps walks through several builds step by step. For ideas that dress up a larger space, see Thanksgiving Door Decorations Classroom: 7 Easy Ideas for Fall Doors.
Handmade Décor Tools and Supplies
A small set of tools covers most projects. The table below lists what each one is used for.
| Tool or Supply | Best Used For |
|---|---|
| Craft knife and cutting mat | Clean edges on cardstock and foam |
| Hot glue gun | Fast bonds on wood, fabric, and natural materials |
| Floral wire | Shaping and holding leaves, bows, and stems |
| Acrylic craft paint | Sealing and coloring wood, pinecones, and gourds |
| Paper piercer or awl | Making holes for twine and wire |
Common Mistakes to Avoid
- Using too many colors. Stick to your palette, even if a store display tempts you otherwise.
- Skipping the dry time for glue, which causes pieces to shift or peel.
- Making items too large for the space. Measure the table or mantel before cutting.
- Leaving pinecones and gourds unsealed, which can lead to bugs or mold indoors. Wipe, dry, and seal them first.
- Hanging heavy paper decorations near heat sources or open flames.
Recommended Gear
A cutting mat with a grid makes it much easier to measure and cut straight strips for garlands and paper projects. View on Amazon
A low-temperature hot glue gun is safer for children helping with projects and works well on paper and fabric. View on Amazon
Floral wire in a few gauges lets you build sturdy frames for wreaths and leaves without bulky supports. View on Amazon
FAQ
Do I need special skills to make handmade Thanksgiving decorations?
No. Most projects use basic cutting, folding, and gluing, and the steps above are designed for beginners. Start with a paper or pinecone project to build confidence.
How far in advance should I start my projects?
Plan on one to two weeks for simple projects and three to four weeks if you’re painting or sealing wood or natural materials, since those need time to dry fully.
Can I reuse handmade decorations for other fall holidays?
Yes. Pieces in neutral colors like cream, brown, and gold work well for early fall and other harvest-themed gatherings, so they can be used again with minimal changes.
Conclusion
Handmade Thanksgiving decorations are a practical way to add personality to your home without buying a full set of store-bought pieces. Choose a limited palette, follow the basic steps, and start with one or two projects. Even simple pieces look polished when they’re arranged with care.
Related reading
- Where Can I Find Thanksgiving Decorations: A Practical Guide (2026)
- Turkey Decorations for Thanksgiving: 8 Ideas and How to Style Them
Ready to choose one?
About Ethan Brooks
Ethan Brooks is part of our editorial team and reviews and edits our non-christmas seasonal decor guides, checking product details against manufacturer specifications and owner feedback.